

When you need to copy files or folders inside an Autodesk Forma project, Flowzito provides a Copy workflow for choosing the source, destination, filters, Preview, and Confirm. Longer jobs expose progress and can use continuation state when interrupted.
Quick read
- Use Copy files for files, or Create child folder structure when you only need the child folder hierarchy.
- Pick both source and destination from the current project's folder tree.
- Filter by extension, modified date, approval state, or custom attribute when needed.
- Run Preview first to see how many items will be processed.
- Run copy → Confirm is the write step.
Before you start
Make sure Flowzito is connected to the intended project and the Autodesk session is active. See Connect Flowzito to the open Autodesk Forma project if the context is unclear.
Use a dedicated destination folder when practical. It makes the result easier to verify and keeps guide/test data separate from working content.
1. Choose the copy mode
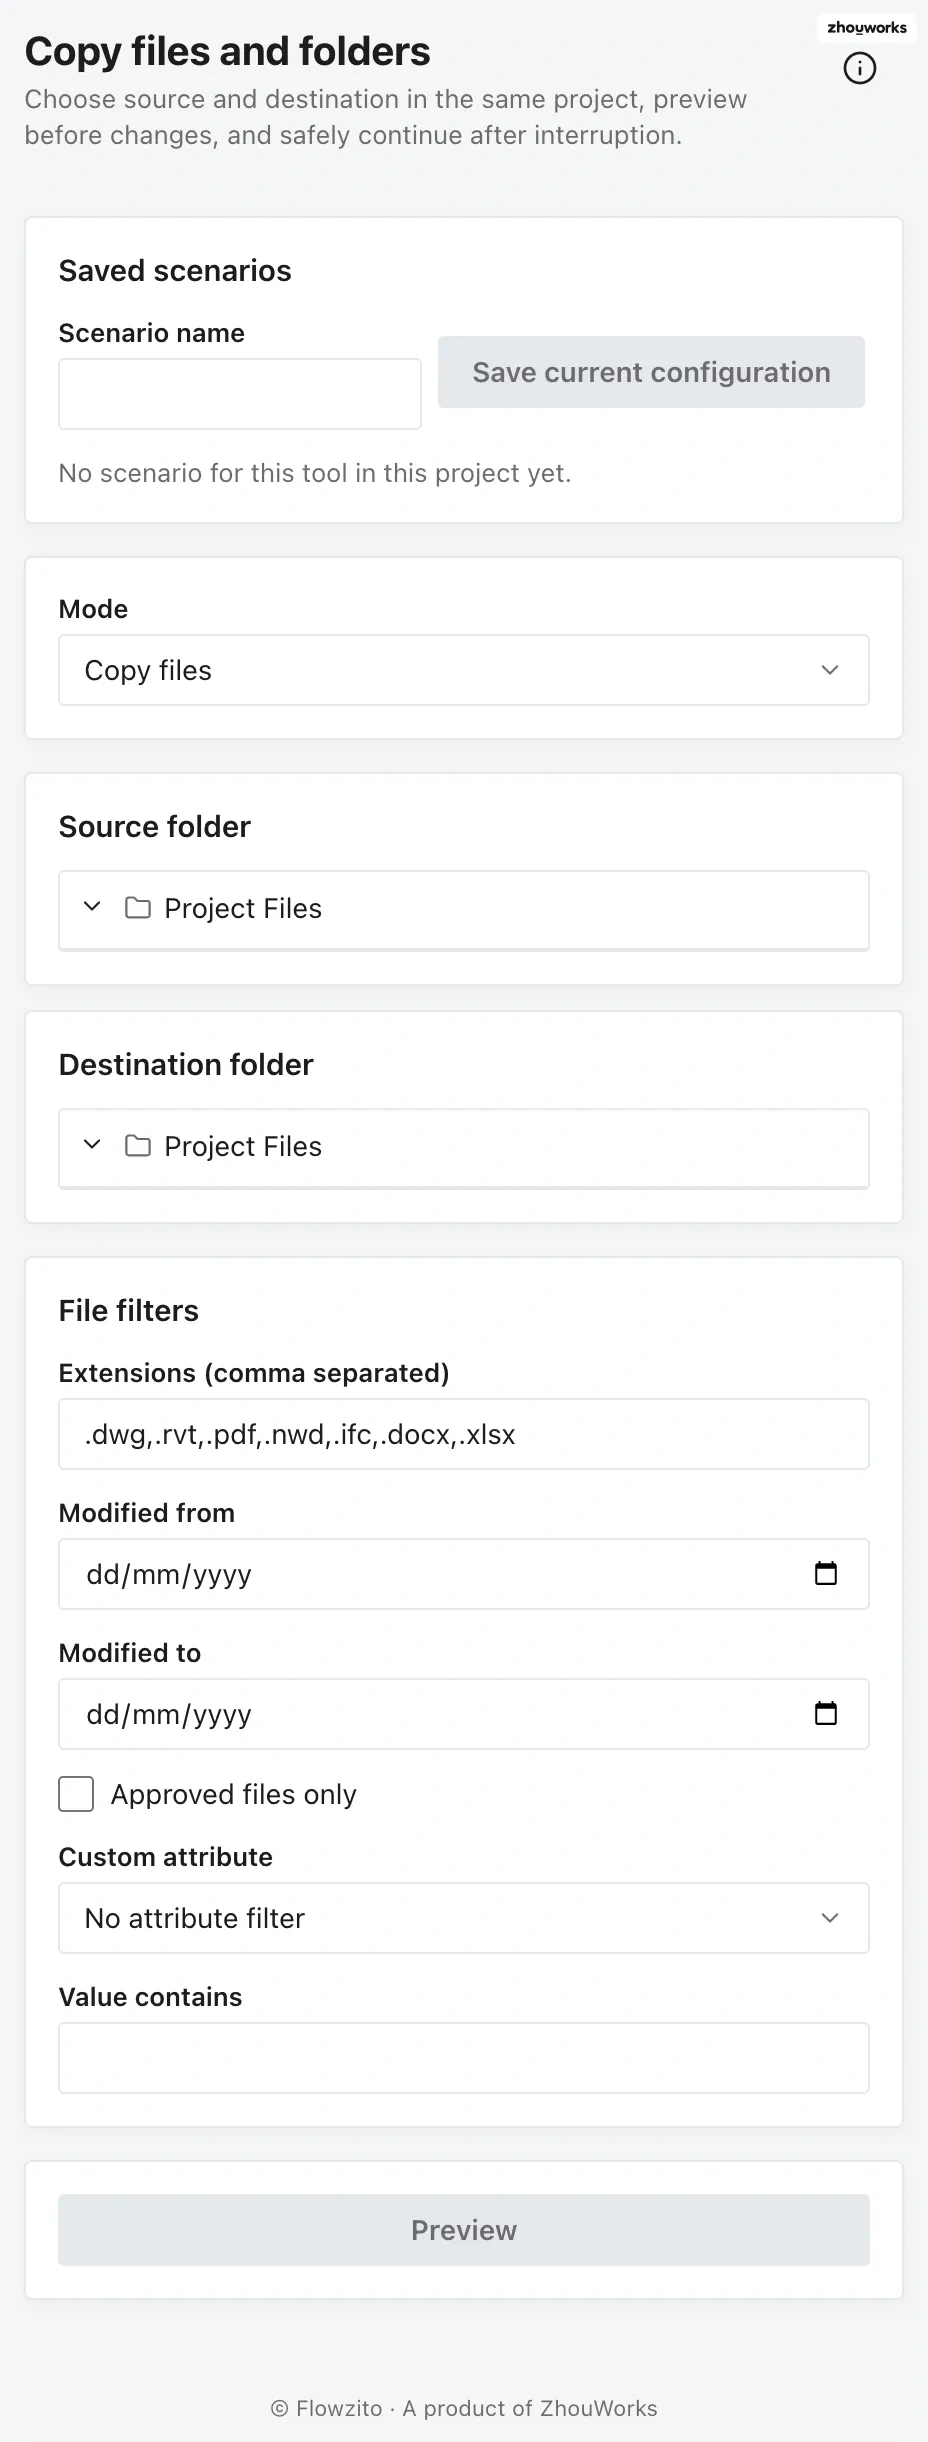
Choose the intended mode before setting source and destination.
Open Files & Folders → Copy. Under Mode, choose:
- Copy files to process files matching the current filters.
- Create child folder structure to reproduce the child folder hierarchy.
This guide follows Copy files. For the structure-only use case, see Copy an Autodesk Forma folder structure.
2. Choose source and destination
Under Source folder, expand the tree and select the folder containing the source data. Then select the receiving folder under Destination folder.
Flowzito shows the selected paths below each picker so you can verify them before previewing.
3. Set file filters
The current Copy interface supports:
- comma-separated file extensions;
- modified-from and modified-to dates;
- approved-files-only filtering;
- custom attribute and matching value.
Leave a filter unset when you do not need it to limit the preview scope.
4. Preview the operation
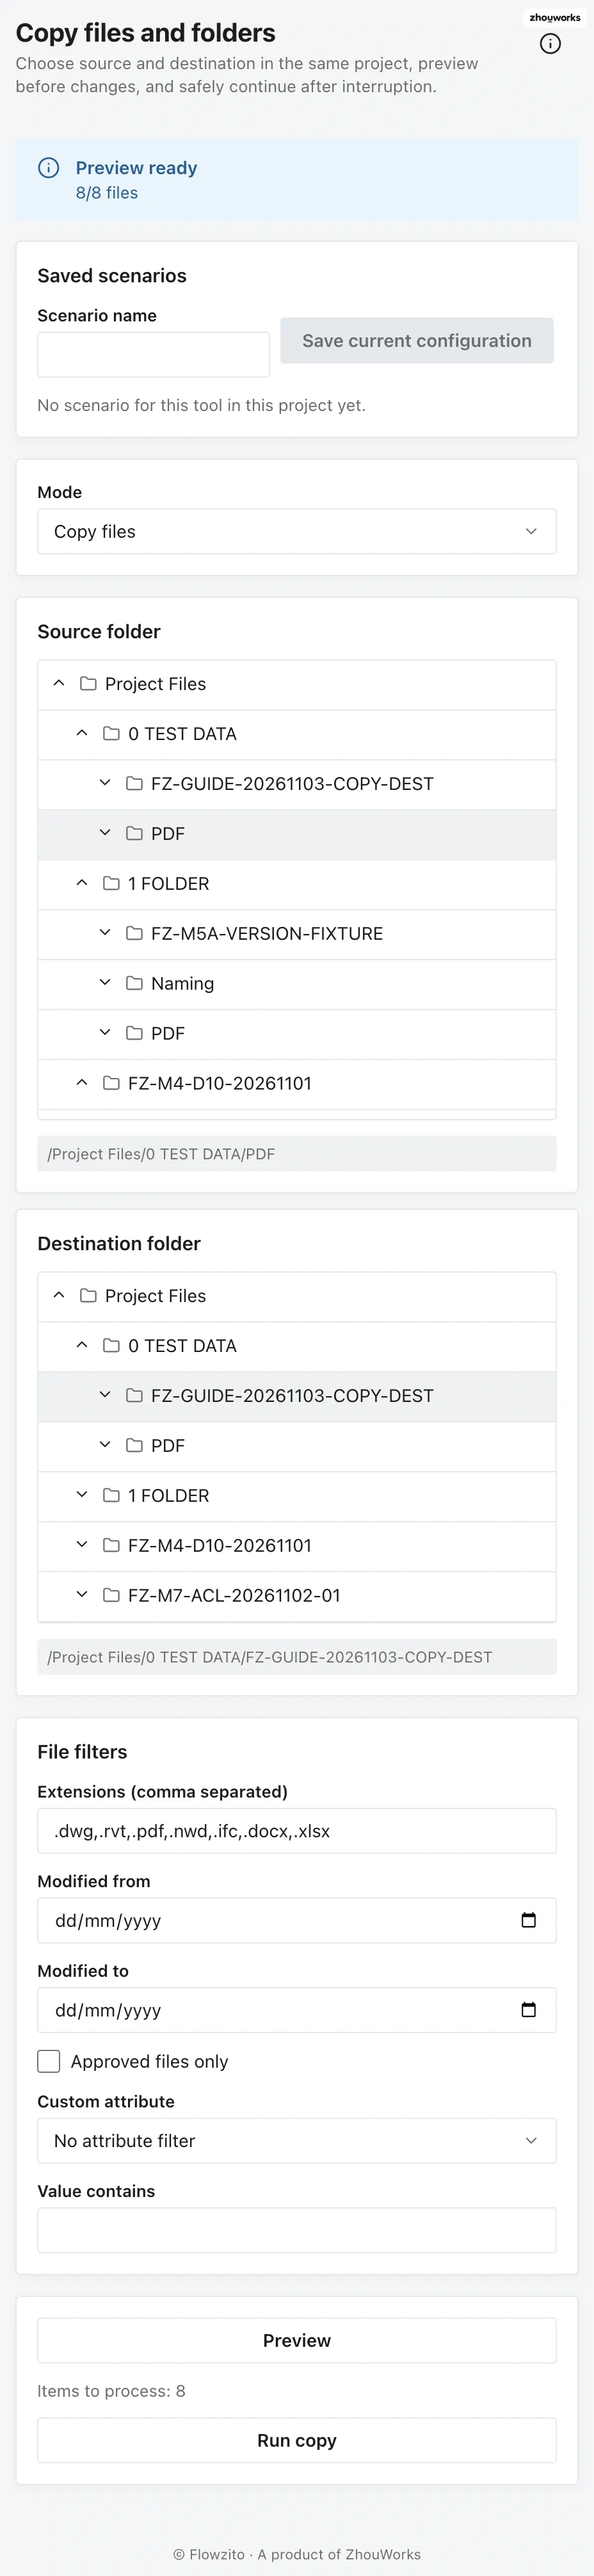
Use Preview to verify scope before the write step.
Select Preview. Flowzito scans the selected scope and reports the number of items before the write action becomes available.
For example, a preview may show 8/8 files and Items to process: 8. Your count depends on the selected source and filters.
If the count is unexpected, change the source, destination, or filters and preview again. There is no reason to confirm an incorrect preview.
5. Run and confirm the copy
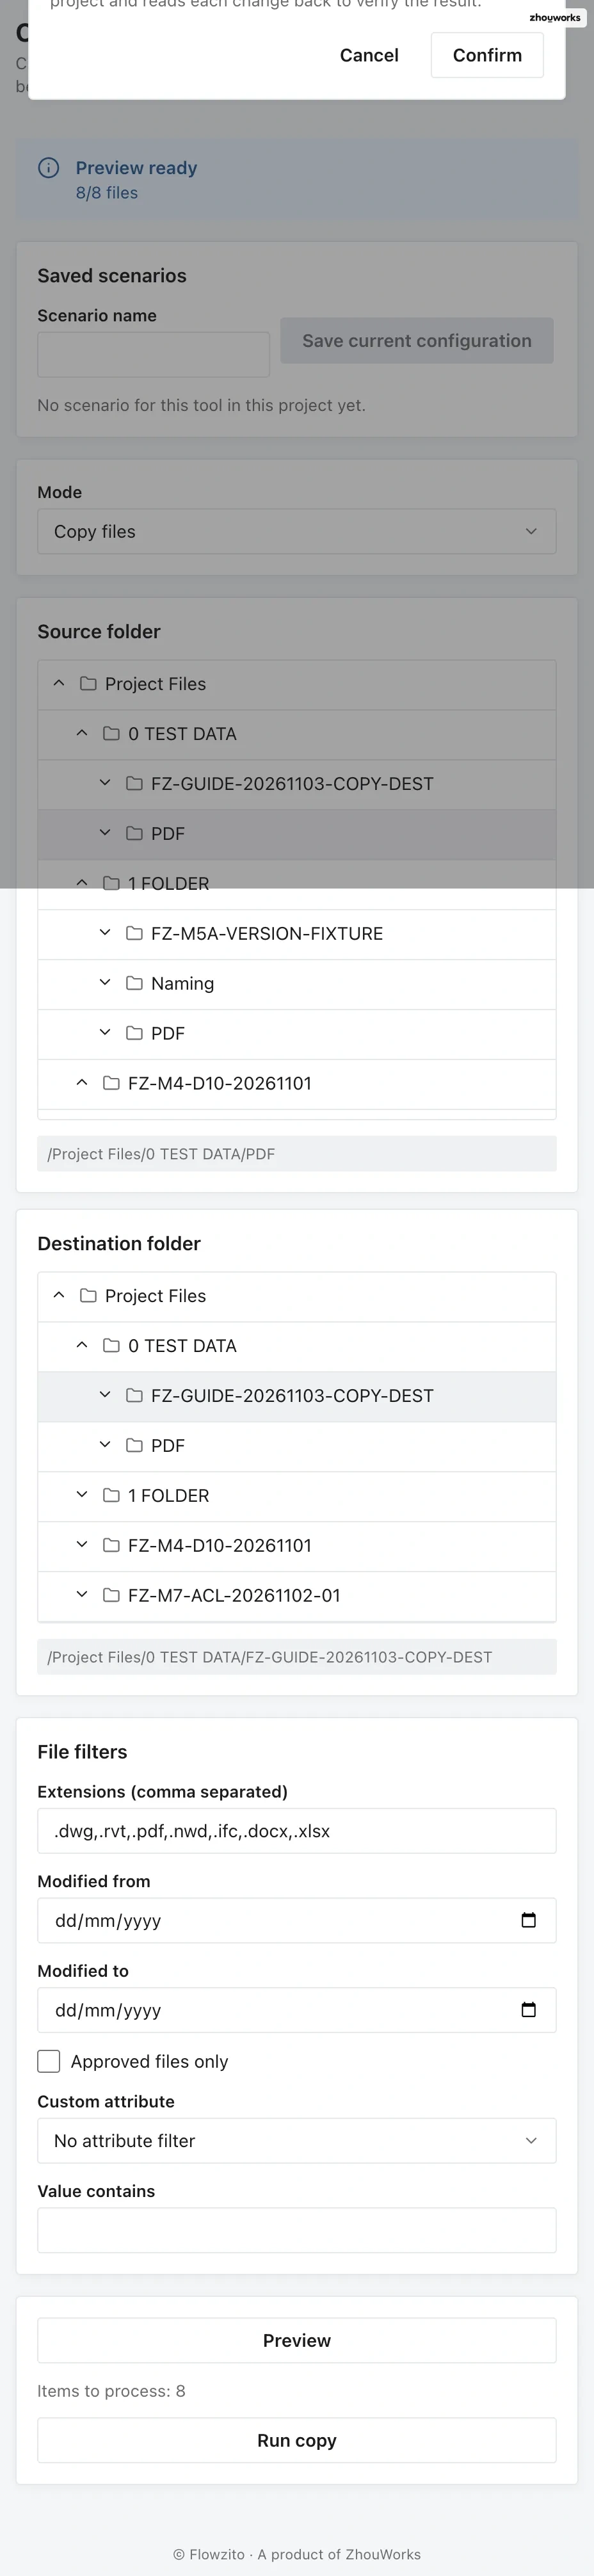
Recheck the project and scope before confirming.
When the preview is correct, select Run copy. Flowzito opens a final confirmation showing the reviewed operation count and target Autodesk project.
Check those values, then select Confirm. Progress is shown while the job runs, with a Cancel action available during processing.
6. Verify completion
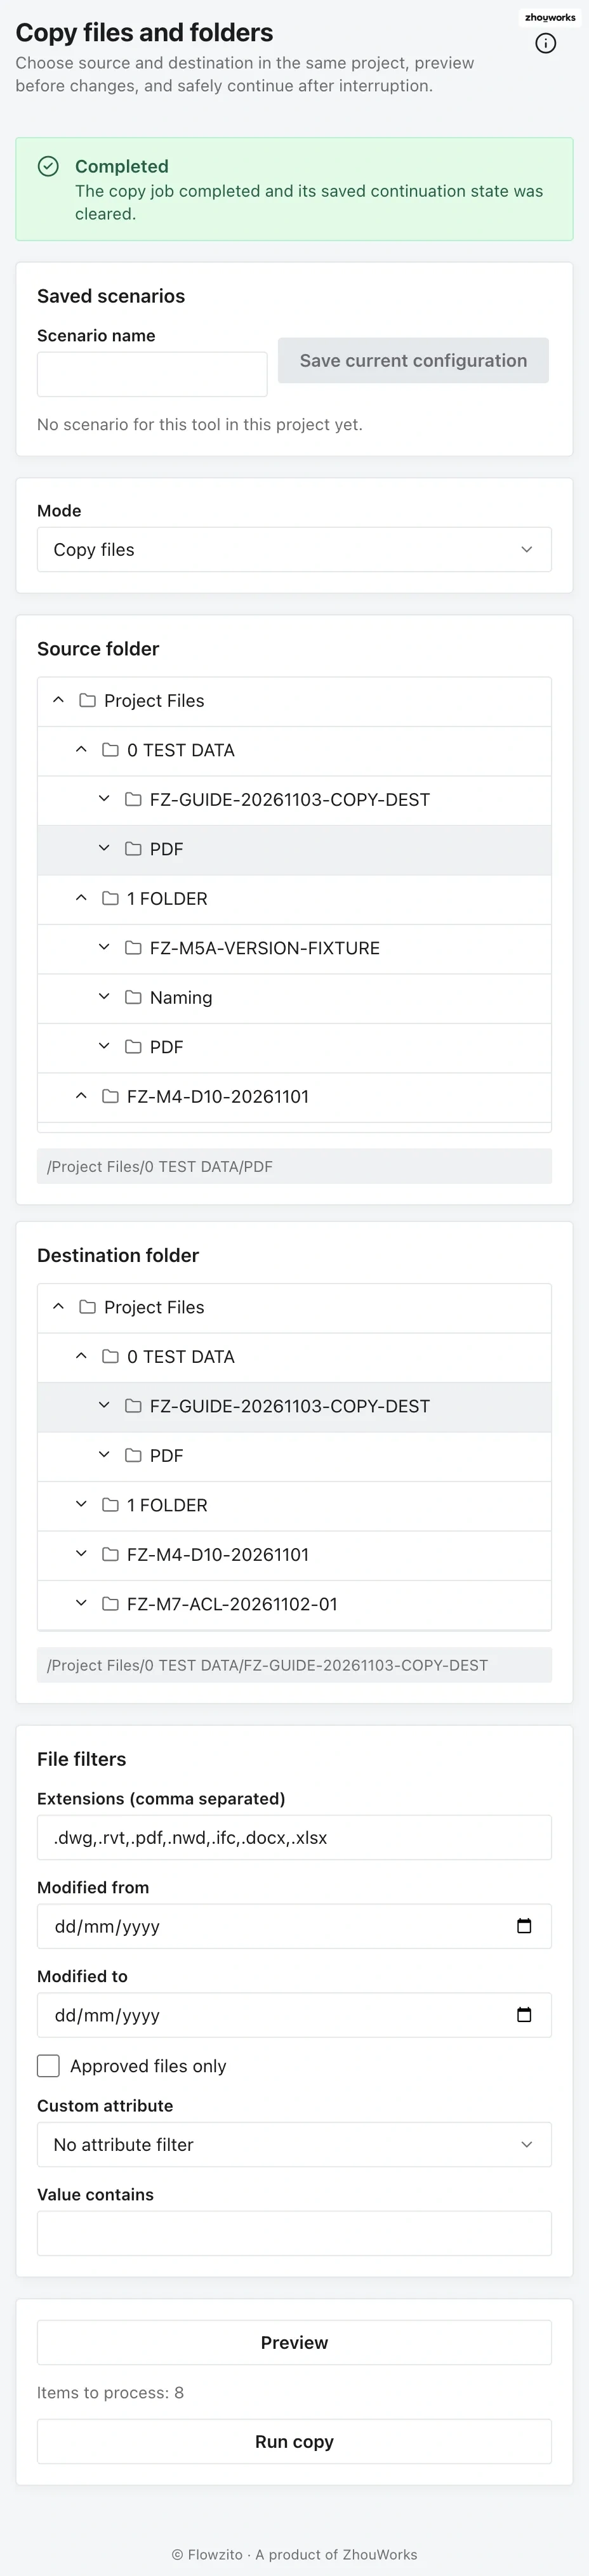
Verify the completion state after the job finishes.
The workflow first creates or verifies required folders, then copies or verifies the files. A successful run reaches Completed · 100%.
After a successful completion, Flowzito can report that the saved continuation state was cleared, meaning there is no unfinished checkpoint left for that job.
If the copy is interrupted
Check Jobs and history before simply running the same operation again. Inspect the job state, result, and any continuation option first. See Track Jobs and progress in Flowzito and Recover an interrupted Flowzito copy or import.
Keep in mind
Copy runs in the project currently selected in Flowzito. Preview checks the planned scope, but you should still verify the working project and destination folder before confirmation.